How to prepare your computer for Windows 10 installation: tips for beginners and experienced users
Step 1: Download the Media Creation Tool
The Media Creation Tool is an official tool from Microsoft that allows you to create a bootable USB drive with Windows 10. It is easy to use and free.
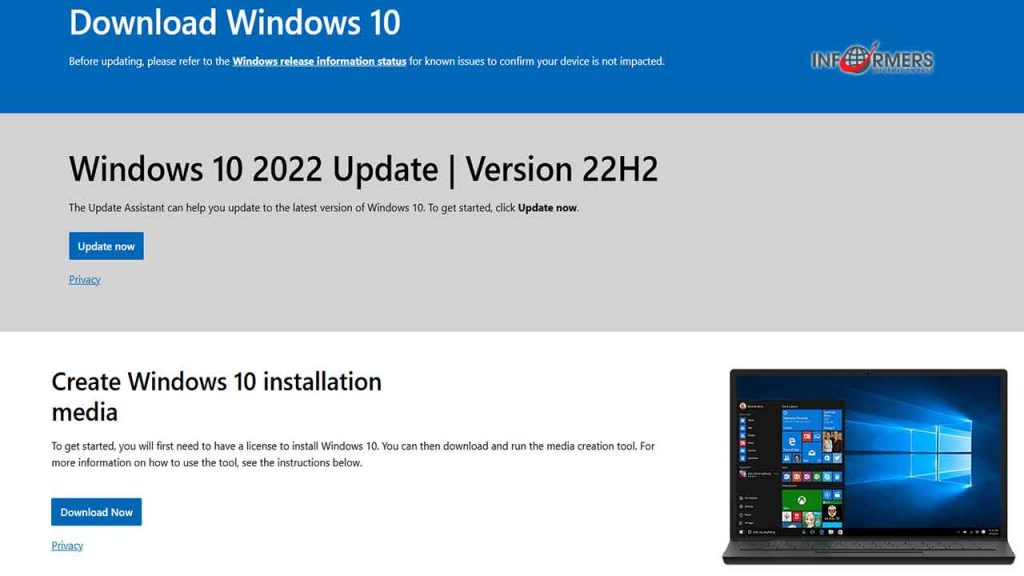
Go to the official Windows 10 download site.
Scroll down to the “Create Windows 10 installation media” section and click on the Download tool now button. This will begin downloading the Media Creation Tool.
When the download is complete, locate the file on your computer (usually it will be in the Downloads folder) and double-click on it to run it.
Step 2: Prepare the USB drive
Before you begin creating the installation USB drive, make sure there is no important data on it. All data on the USB drive will be deleted during the process of creating the bootable media.
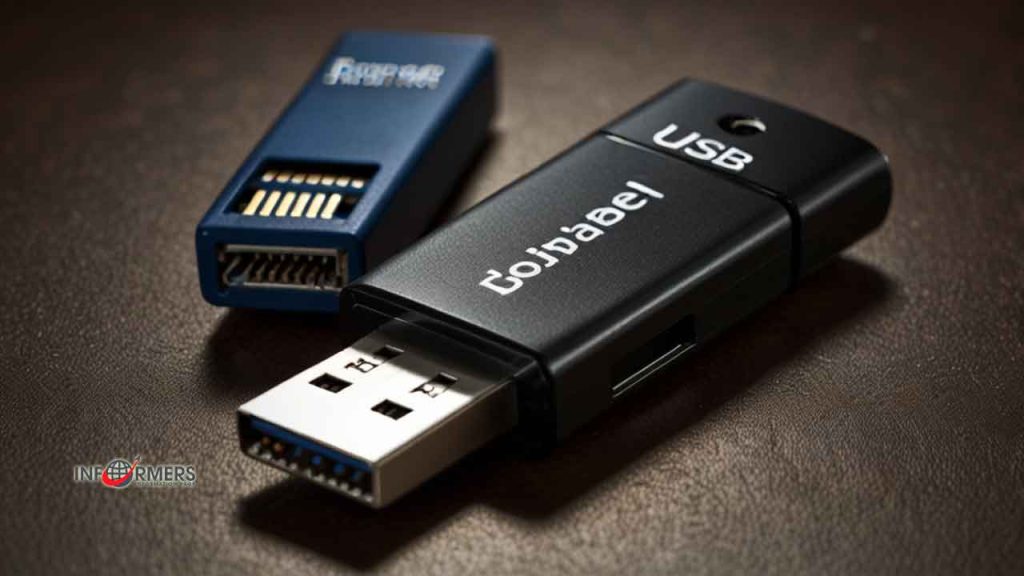
Connect the USB drive to your computer.
Make sure there are no files on the USB drive that you need, or save them elsewhere, as the process will delete all data.
Step 3: Launch Media Creation Tool and configure settings
After launching Media Creation Tool, agree to the license agreement.
On the first screen, select the Create installation media (USB flash drive, DVD, or ISO file) for another PC option and click Next.
On the next screen, select the language, edition, and architecture. Usually, Media Creation Tool automatically selects the options that match your computer, but you can change them if you are installing Windows on another device.
Language: Select your preferred language.
Edition: Select Windows 10.
Architecture: It is usually better to select the 64-bit version, as it supports more RAM and more modern programs. However, if your computer is older, you may need the 32-bit version.
After selecting the options, click Next.
Step 4: Select USB device
Select the USB flash drive option and click Next.
A list of available USB devices will appear. Select your flash drive and click Next.
Step 5: Download and create a bootable USB drive
Media Creation Tool will start downloading the Windows 10 installation files and write them to the USB drive. This process may take some time, depending on the speed of your Internet and USB drive.
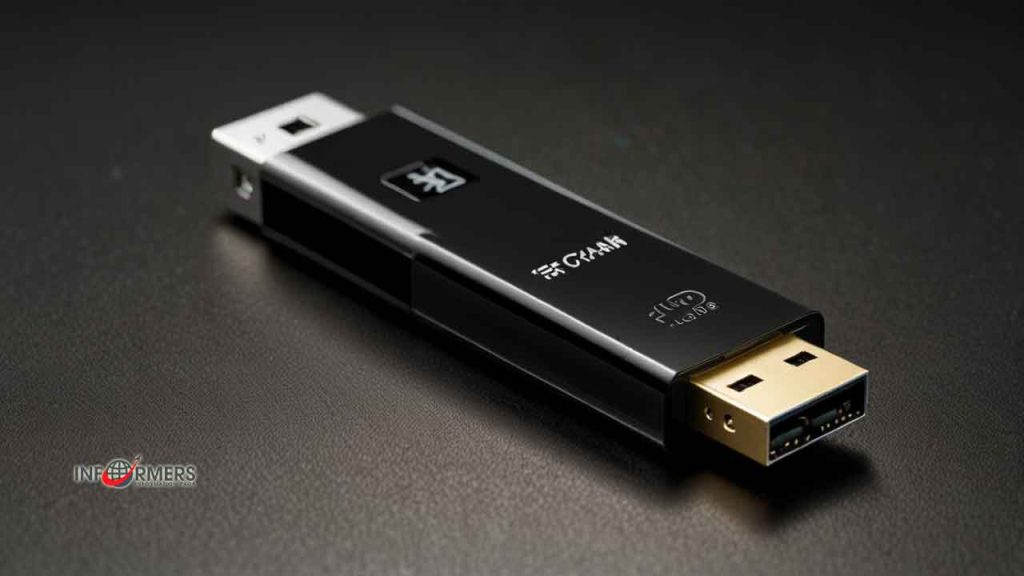
Note: Do not disconnect the USB drive or turn off your computer until the process is complete.
When the writing is complete, Media Creation Tool will notify you that your bootable USB drive is ready. You can now use it to install Windows 10 on your computer.
Step 6: Accessing the BIOS
First, you need to enter the BIOS. The procedure may vary slightly depending on the motherboard manufacturer, but most often it looks like this:
Turn off the computer. If the computer was on, you need to turn it off completely.
Turn on the computer and immediately start pressing the BIOS entry key. Typically, this is one of the following keys:
Delete (Del) or F2 are the most common.
Other keys, such as F1, F10, F12, or Esc, may be used depending on the motherboard model.
The screen will usually briefly indicate the key you need. For example: “Press Del to enter Setup.”
Step 7: Finding the Boot Settings
Once you have entered the BIOS, you need to find the section responsible for the boot settings. This section may be called Boot, Boot Menu, Boot Options, Boot Priority, or Boot Order. The differences depend on the BIOS or UEFI version:
Go to the Boot section: use the arrow keys on your keyboard to navigate the menu.
Find the Boot Order option: this section displays the devices from which the system can boot. Typically, this is your hard drive (HDD or SSD), optical drive (DVD/CD), and USB devices.
Step 8: Set USB boot priority
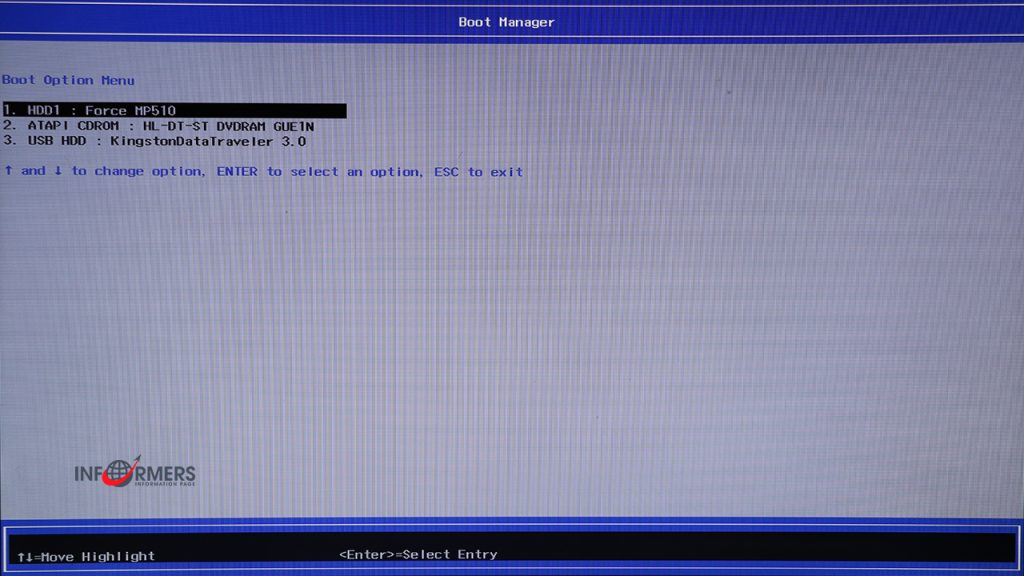
Now that you are in the boot section, set the USB stick as the first device to boot:
Find the USB device in the list of boot devices. It may be listed as “USB Device”, “USB HDD”, or “Removable Device”, depending on your BIOS.
Put the USB first: using the keys indicated on the BIOS screen (usually F5/F6 or +/-), move the USB device to the top of the boot order. This means that the system will first try to boot from the USB before moving on to the hard drive.
Step 9: Save settings and exit BIOS
To save changes and exit BIOS:
Find the Save & Exit option or press F10 (if indicated on the screen) to save the settings.
Confirm the action by selecting Yes or OK.
The computer will reboot and begin booting from the USB. If everything was done correctly, you will see the Windows 10 installation screen.
Tips and possible problems:
UEFI and BIOS: More modern computers use UEFI instead of BIOS. The UEFI interface may be more complex and support a mouse, but in general the process is similar.
Fast Boot: If “Fast Boot” or “Ultra Fast Boot” is enabled, this may block booting from USB. Disable it if the USB stick is not recognized.
Legacy Support: If the USB stick is not visible in UEFI, try enabling Legacy Support or CSM (Compatibility Support Module) mode.
Now you are ready to start installing Windows 10!
After preparing a bootable USB flash drive and setting up the BIOS to boot from USB, you can start installing Windows 10. The installation is quite simple if you follow the step-by-step instructions.
Step 10: Boot from USB
Connect the USB flash drive with the Windows 10 installation files to your computer.
Turn on your computer. If you have correctly configured the BIOS to boot from USB, the system will automatically start booting from the USB flash drive.
The Windows logo and the installation process loading window will appear on the screen.
Step 11: Select language and region
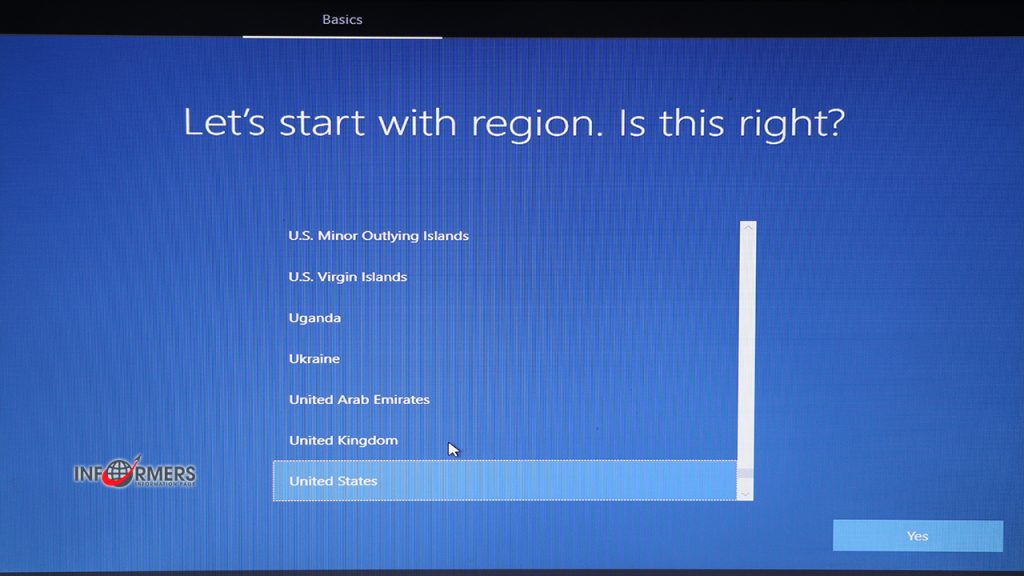
The first screen will ask you to select a language, time and currency format, and keyboard layout. Usually, the settings are automatically adjusted to your location, but you can change them if necessary.
Select the Language for installation, Time and currency format, and Keyboard layout.
Click Next.
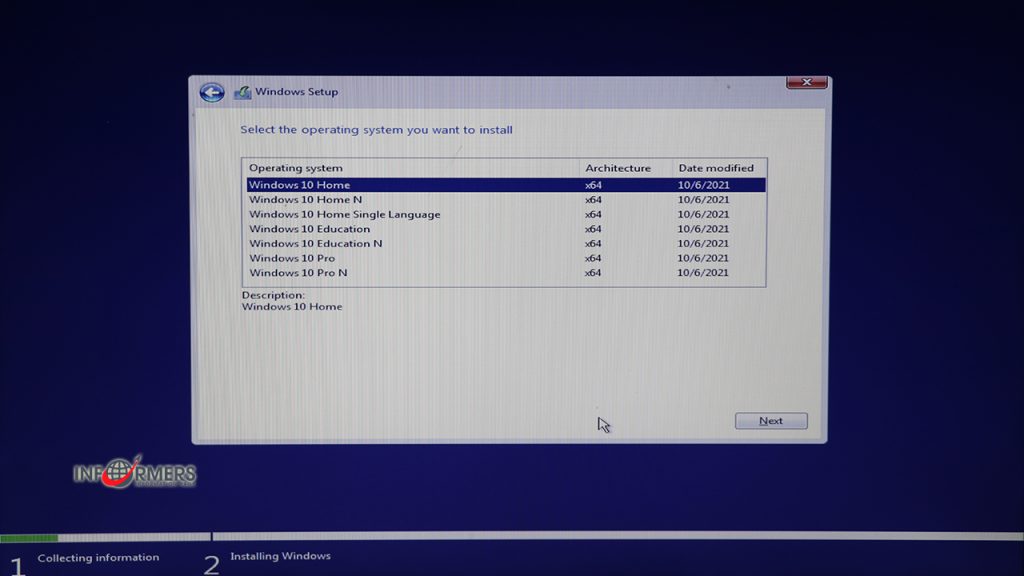
Step 12: Start the installation
On the next screen, click Install now to start the Windows 10 installation process.
Step 13: Enter the product key
You will be asked to enter the Windows 10 product key. This is a 25-digit code that verifies the license. You can enter it now or do it later.
If you have a product key, enter it and click Next.
If you don’t have a key, click I don’t have a product key. In this case, Windows 10 will be installed, but it won’t be activated until you enter the key in the settings after the installation is complete.
Step 14: Accept the license agreement
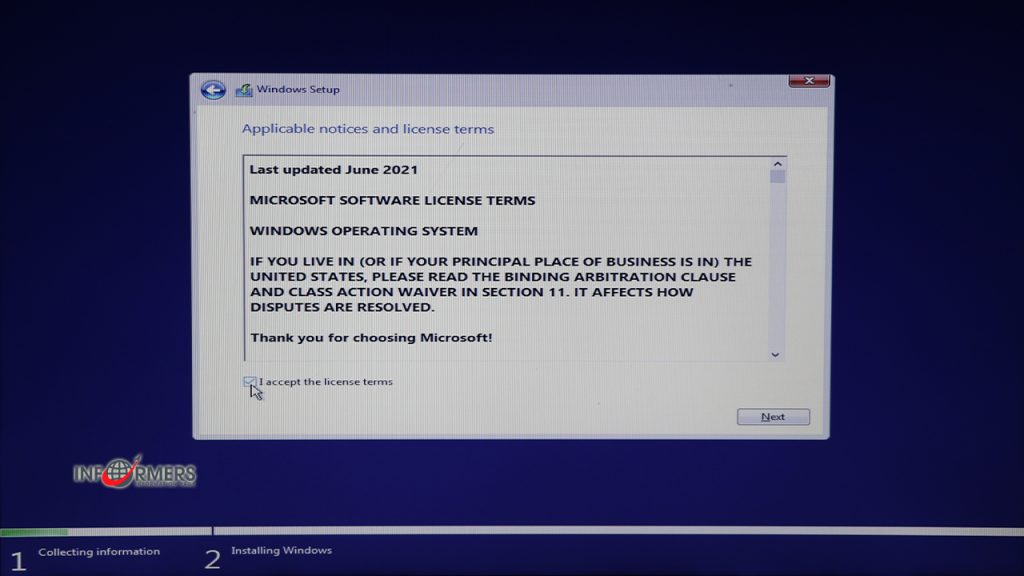
After entering the product key, a window with the Microsoft license agreement will open:
Read the terms and check the box next to I accept the license terms.
Click Next.
Step 15: Choose an installation type
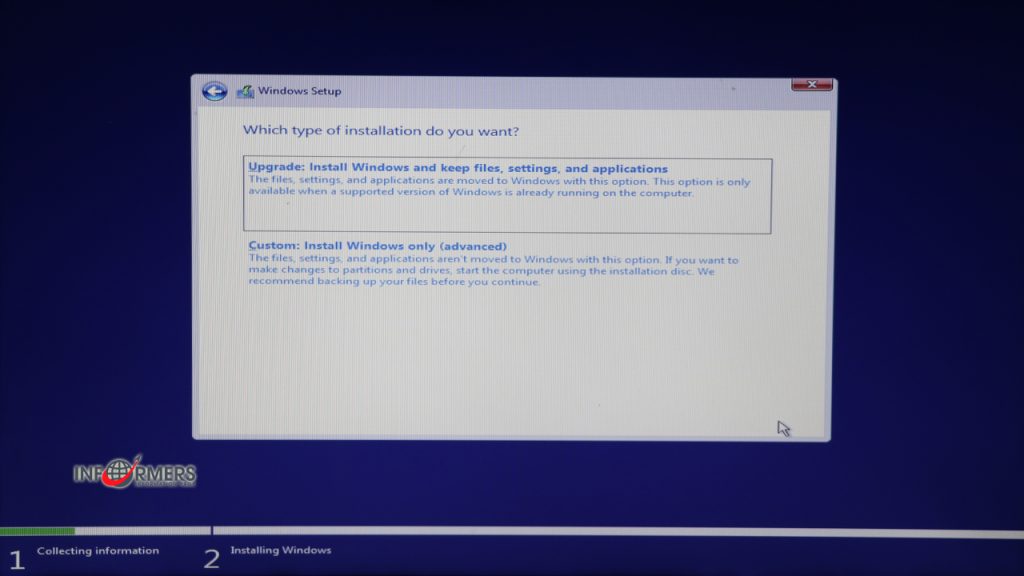
Now the system will ask you to select an installation type:
Upgrade: upgrades the current version of Windows to Windows 10, keeping all your files, programs, and settings. You can choose this option if you already have an older version of Windows installed and want to upgrade to Windows 10.
Custom installation (Windows only): Performs a clean installation of Windows 10. All data on the selected partition will be deleted.
For a clean installation, select Custom installation.
Step 16: Select a partition to install
In this step, you will select the drive or partition where Windows 10 will be installed.
You will see a list of partitions and drives. If your hard drive is new or you want to completely clear it, you can delete all the partitions by selecting them one by one and clicking Delete.
After deleting all the partitions, select Unallocated space and click Create to create a new partition for installing Windows.
Click Next and the installer will automatically prepare the drive and start copying files.
Step 17: Installing the system
The system will start copying files and installing Windows 10. This process includes several stages:
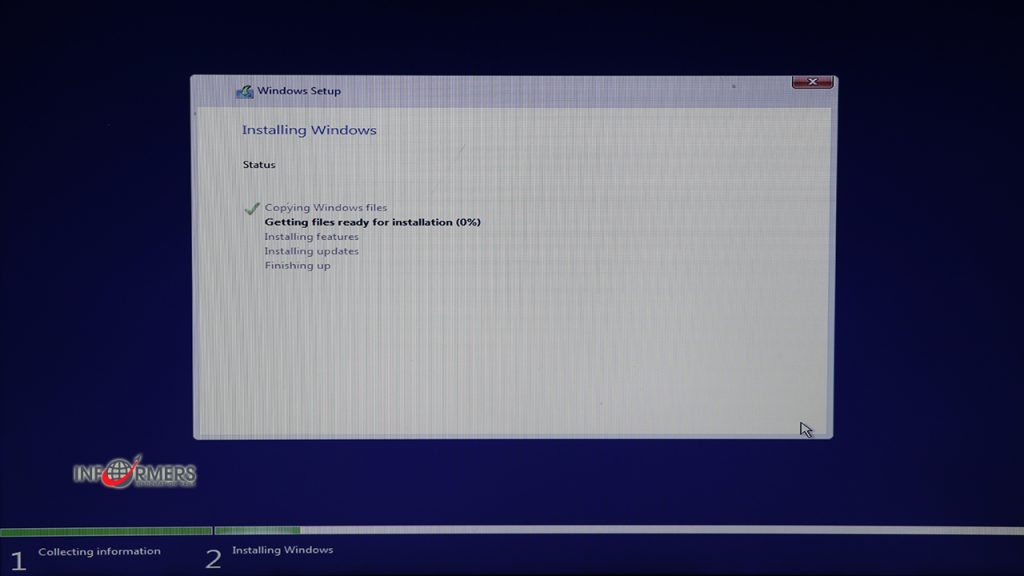
Copying Windows files.
Preparing files for installation.
Installing components.
Installing updates (if connected to the Internet).
Completing the installation.
The entire process can take from 10 to 30 minutes, depending on the speed of your computer. The computer will reboot several times. This is normal – do not disconnect the device from the network or remove the flash drive until the installation is complete.
Step 18: Initial system setup
Once the installation is complete, Windows 10 will automatically reboot and begin the initial setup. You will be prompted to complete several steps:
Setting up the region and language.
Connecting to the network (if not connected to the Internet).
Setting up an account and selecting privacy options (account settings were described earlier).
Step 19: Done!
After completing all the settings, Windows 10 will boot and you will find yourself on the desktop. The system is ready to work, and now you can start installing drivers and updates.
Step 20: Create an account
After the first startup, Windows will prompt you to set up an account. Here are the main options:
Sign in with a Microsoft account: This is the standard method that allows you to sync data, settings, and access Microsoft services (OneDrive, Microsoft Store, Outlook, etc.). To do this, you need to enter the email address, phone number, or Skype login that is associated with your Microsoft account. If you do not have an account yet, you can create one right at this stage.
Local account: You can also create a local account if you do not want to associate your device with a Microsoft account. This option will limit access to cloud services and will not allow you to use some syncing features, but may be preferable if you want more autonomy.
Step 21: Set up a PIN (optional)
For convenient sign-in, Windows will prompt you to create a PIN. It will be used instead of a password and will protect your account:
Click Create PIN.
Enter a numeric code of at least 4 characters (you can include letters and special characters if you select “include letters and symbols”).
Confirm the PIN.
Step 22: Privacy settings
During the setup phase, Windows will prompt you to select privacy settings. These settings control what data the system collects and how it uses it. Here are the main settings you can turn on or off:
Speech recognition and typing: This feature collects data to improve speech and text recognition, which helps Cortana and other services better understand you. If privacy is important to you, you can turn it off.
Location: Windows can use your location data for apps and services like maps, weather, and navigation. You can leave this on or turn it off if you prefer Windows not to use your location data.
Advertising ID: This allows you to personalize ads in apps based on your activity. If you want to reduce targeted advertising, turn this off.
Diagnostics and usage data: Windows sends system data to Microsoft to improve stability and performance. You can choose the “Basic” level to limit data sharing.
Find my device: Lets you locate your device if you lose it. This feature is useful for laptops and other portable devices, especially if you want to be able to track them if they get lost.
Automatically connect to open Wi-Fi hotspots: Allows the system to connect to available networks automatically. This is convenient, but can pose a security risk, so decide how important it is to you to automate your connection.
Send network reliability and system data: Allows Windows to send Microsoft additional data to improve your network. You can turn this off if you want to limit data sharing.
Step 23: Review your settings in Settings after installation
Once you’ve completed the initial account and privacy setup, you can always change your settings:
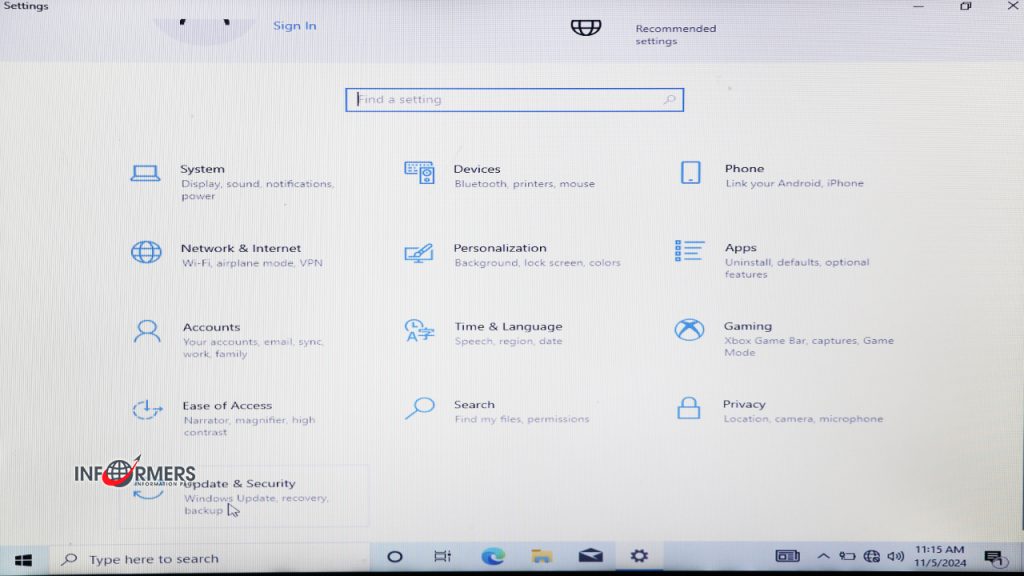
Open the Start menu and select Settings.
Go to Privacy, where you can adjust all privacy settings, camera and microphone access for apps, location data, and advertising preferences.
Done!
Your account is now set up and your privacy settings are customized to your preferences. These settings help you control the data that is shared with Microsoft and apps.
After Windows 10 installation and initial system setup is complete, it is important to ensure that you have all the necessary updates and drivers installed. This will help ensure that your operating system runs smoothly and your hardware performs optimally. In this section, we will look at how to perform Windows updates and install drivers.
Step 24: Install Windows updates
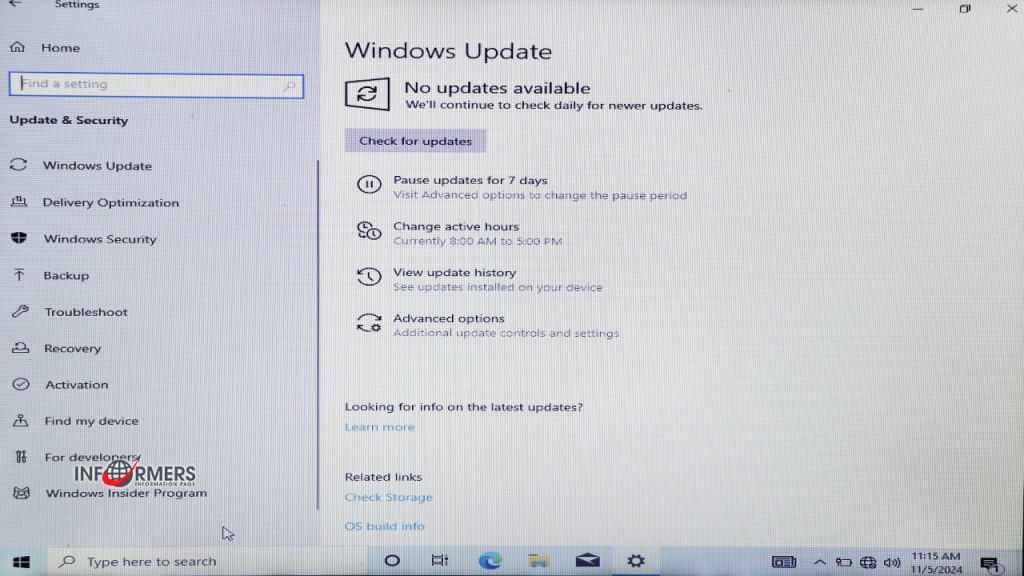
Windows 10 updates include important security fixes, performance improvements, and new features. To install updates, follow these steps:
Open update settings:
Press the Windows + I key combination to open the Settings menu.
Select Update & security.
Check for updates:
In the Windows Update section, click the Check for updates button.
Windows will begin searching for available updates. If updates are found, they will be automatically downloaded and installed.
Restart the system:
After installing the updates, Windows will prompt you to restart your computer if required. Click Restart now or choose a time to restart later.
Check for updates again:
After the restart, it is recommended to check for updates again, as some updates may require additional restarts to install.
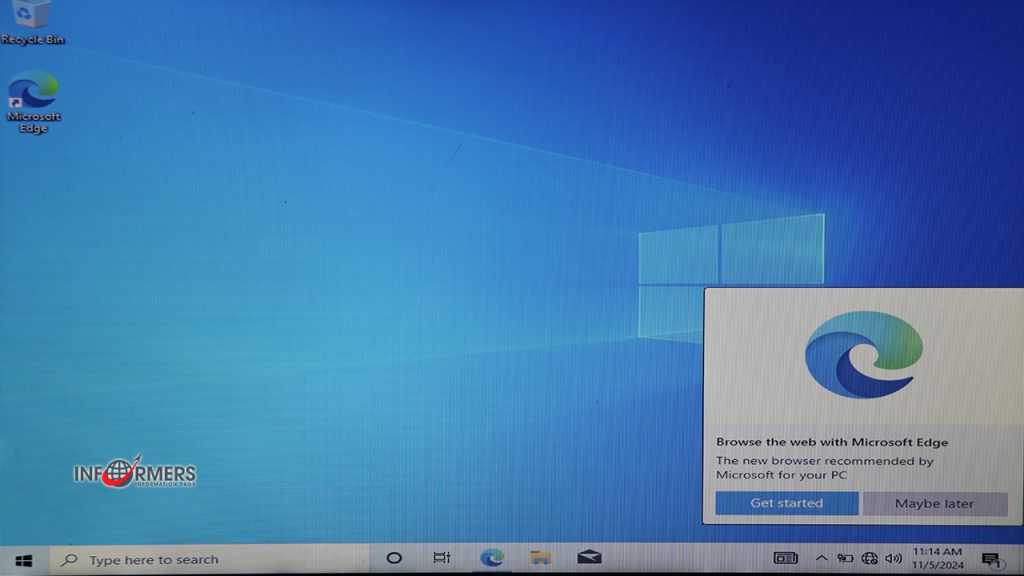
Step 25: Install Drivers
Drivers are software that allow your operating system to communicate with your hardware. Installing up-to-date drivers is important to ensure that all components of your computer work properly. Here’s how:
Method 1: Automatically install drivers via Windows Update
Check for Windows updates:
The Windows 10 update process may also install some drivers. Make sure you’ve completed all updates as described above.
Method 2: Manually install drivers
If any devices aren’t working properly or aren’t recognized after updates, you may need to install drivers manually:
Identify devices:
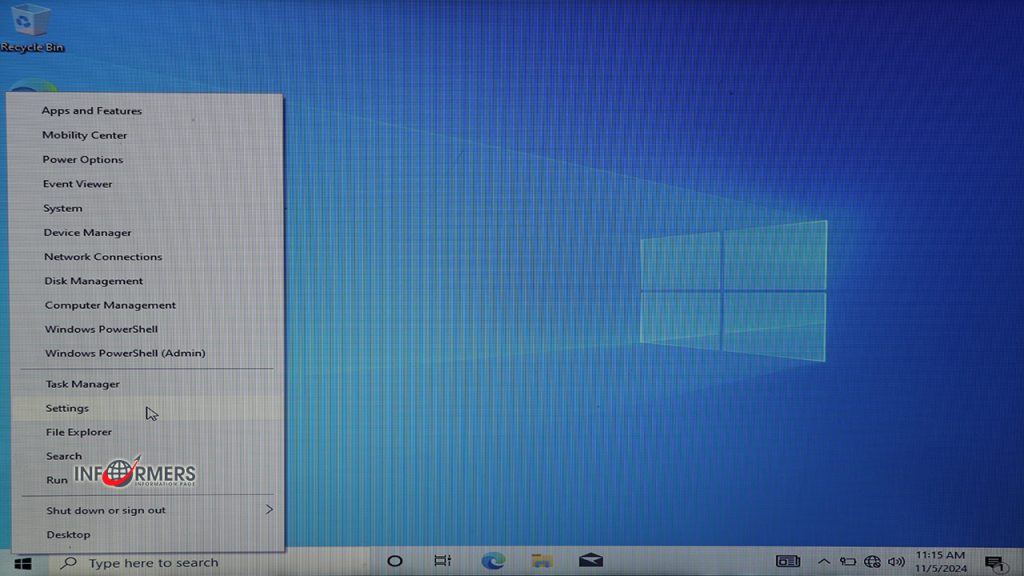
Open Device Manager: Right-click the Start icon and select Device Manager.
Check for devices with a yellow exclamation mark, which indicates a driver issue.
Find drivers:
Go to your hardware manufacturer’s website (e.g. motherboard, video card, sound card) and look for the Support or Downloads section.
Find and download the latest drivers for your hardware model.
Installing Drivers:
Run the downloaded files and follow the instructions of the installer. Usually it is simple: agree to the terms, choose the installation location and click “Install”.
Reboot:
After installing the drivers, you may need to reboot the system to apply the changes.
Step 26: Installing additional programs and utilities
After installing the drivers, it is also recommended to install programs that you will need for work or study:
Antivirus: If you do not have built-in Windows Defender antivirus, consider installing a third-party antivirus.
Browsers: You can install your favorite browser, such as Google Chrome, Mozilla Firefox or Microsoft Edge.
Office applications: Install the necessary applications, such as Microsoft Office or alternatives (LibreOffice, Google Docs).
Multimedia programs: Install players (VLC, Winamp) and editors (GIMP, Photoshop) depending on your needs.
Step 27: Completing the setup
Checking system information:
Make sure that all devices are correctly recognized and work without errors. To do this, open the Device Manager again.
Configure system settings:
Configure system settings to suit your needs, including power, sound, and display settings.
Summary
Your Windows 10 system is now up to date and all drivers are installed. This will ensure that your computer runs smoothly and performs optimally.
Optimize performance
- Adjust system settings
Disable visual effects:
Press Windows + I to open settings.
Go to System > About > Advanced system settings.
On the Advanced tab, under Performance, click Settings.
Select Adjust for best performance or manually configure settings by disabling unnecessary visual effects.
Manage startup:
Press Ctrl + Shift + Esc to open Task Manager.
Go to the Startup tab and disable unnecessary programs that start at system startup.
- Clean up disk
Use the built-in utility “Disk Cleanup”:
Open File Explorer and right-click on the disk (usually drive C:).
Select Properties > Disk Cleanup.
Select the types of files you want to delete (temporary files, recycle bin files, etc.) and click OK. - Update Drivers
Make sure all drivers are updated to the latest version as described in the previous section. Up-to-date drivers provide better system performance and stability. - Manage Storage
Optimize Disk:
Use the Defragment and Optimize Drives tool. Type “Optimize Drives” in the search bar and follow the instructions to optimize.
Use SSD:
If you have an SSD installed, make sure TRIM is enabled. This helps maintain the speed of the SSD.
System Security
- Install Antivirus
Windows Defender: The built-in Windows Defender antivirus provides reliable protection. Make sure it is activated and updated.
Third-Party Antivirus: If you prefer a third-party antivirus, choose a trusted solution such as Norton, Kaspersky, or Bitdefender. Make sure you disable Windows Defender to avoid conflicts. - Update System
Check for Windows updates regularly via Settings > Update & Security > Windows Update. Installing updates will help protect your system from vulnerabilities. - Set up a firewall
Make sure the built-in Windows firewall is enabled. To do this:
Open Control Panel.
Go to System and Security > Windows Firewall.
Make sure the firewall is enabled for all networks (private and public). - Use a limited-privilege account
Create a standard account: For everyday use, create a standard user account to minimize risks. The administrator account should only be used to install programs and make system changes. - Create regular backups
Use the built-in File History tool or a third-party solution to create backups of important data. This will help you restore files in the event of data loss or a system crash. - Privacy settings
Check your privacy settings in Settings > Privacy. Make sure you have disabled unnecessary features that may collect your data. - Use two-factor authentication
For all accounts that support it (including your Microsoft account), enable two-factor authentication. This will add an extra layer of protection to your data.
Conclusion
By following these performance and security optimization tips, you can ensure that your Windows 10 system runs smoothly and protect your data. Regular updates and preventative measures will help you avoid many problems.


